Document Central
Case > Document Central
Document Central can be accessed from the Case menu options, by selecting and right clicking on a case on the Appointment Sheet or by right clicking on a visit in any tree view.
Document Central allows documents and images to be scanned or uploaded directly to patient visits. It can be utilized to attach copies of insurance cards, driver's licenses, signed consent forms, and more. Furthermore, once a document is imported, it will be retained for future use within the patient account. This is a billable accessory to the HST Practice Management database.
Setup:
Go to Administration > Code Table Maintenance to create desired Document Types Standard choices include documents such as Driver's License, Signed Consent Form, Insurance Cards, and signed Payment Plans.
Manual Import
To Upload a Document to a Case:
1. Save the document - as PDF or scanned image - to a local drive or shared network location.
2. Open Document Central. Click on Select Documents and browse to find the desired document(s).
3. Enter Patient ID and select the desired visit.
4. Click the check box for the first document to be attached; click on  and assign the document a document type. Save.
To cancel the import prior to saving, click  .
.
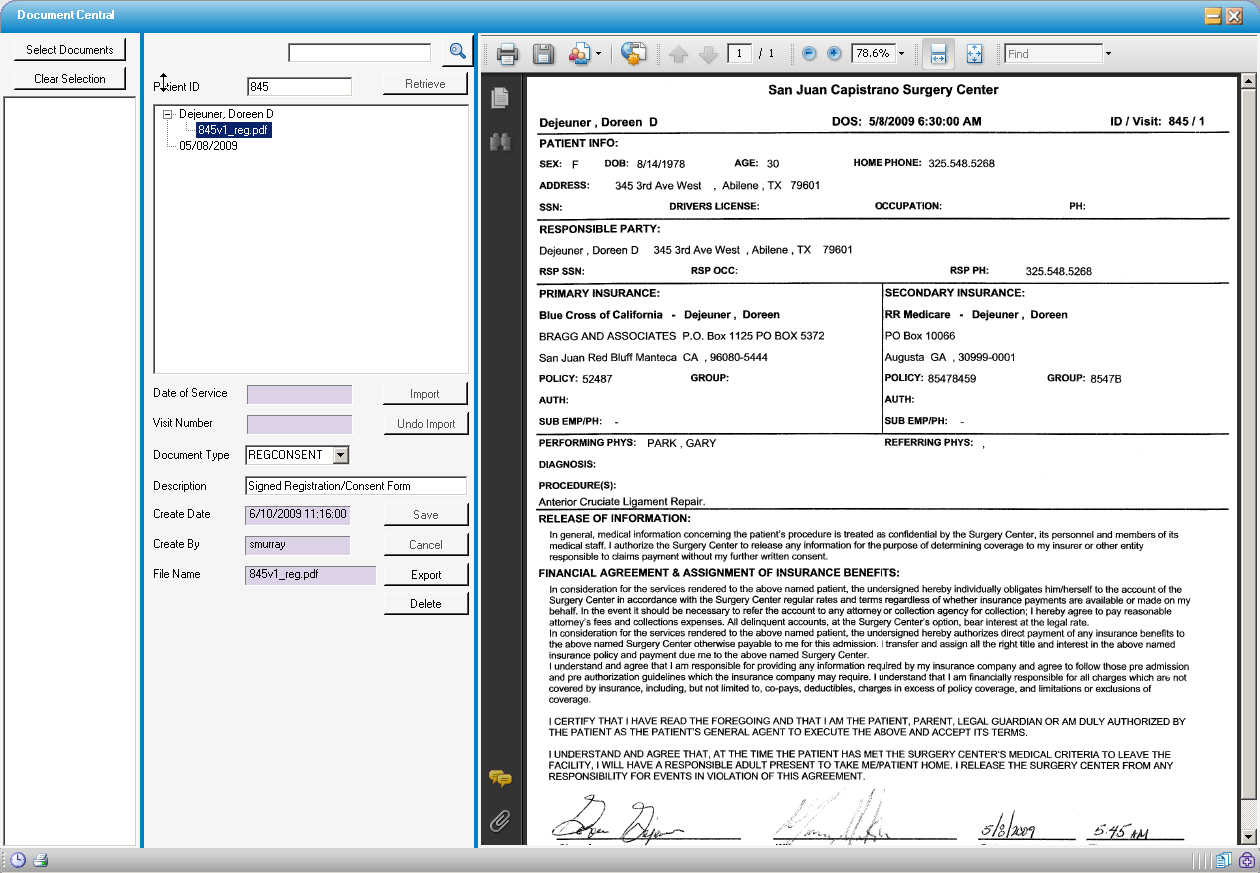
To Retrieve Documents after Import:
To retrieve the saved documents for review or printing, open Document Central and query the patient. Double-click on the desired document; Click  to save the document locally. Alternately, when the image appears on the right side of the screen, the print icon can be utilized to print directly from Document Central.
Scanning with Document Central
If a scanner is attached to a local workstation, bar-coded registration forms can be scanned directly into Document Central. The bar codes will identify the patient ID and visit information so they automatically attach to the correct case. The scanning function is compatible with both TWAIN and WIA drivers.
The barcoded labels are available as a style selection under Create Patient Labels.
Click Case, then select Document Central. Click on the Scan tab.
Scanner Configuration may be adjusted in the form. This is especially useful for card-sized scanners. It is recommended that image type of Color be used for all documents as scans are cleaner than using the black and white settings, even on black and white printed documents.
Select a scanner from the Available Scanners drop down box at the bottom of the screen.

Put the document to be scanned on the selected scanner.
Click the scan  icon.
icon.
When finished, click OK button.

The patient name and date of service will populate the left tree view. When expanded, the scanned document(s) are visible. 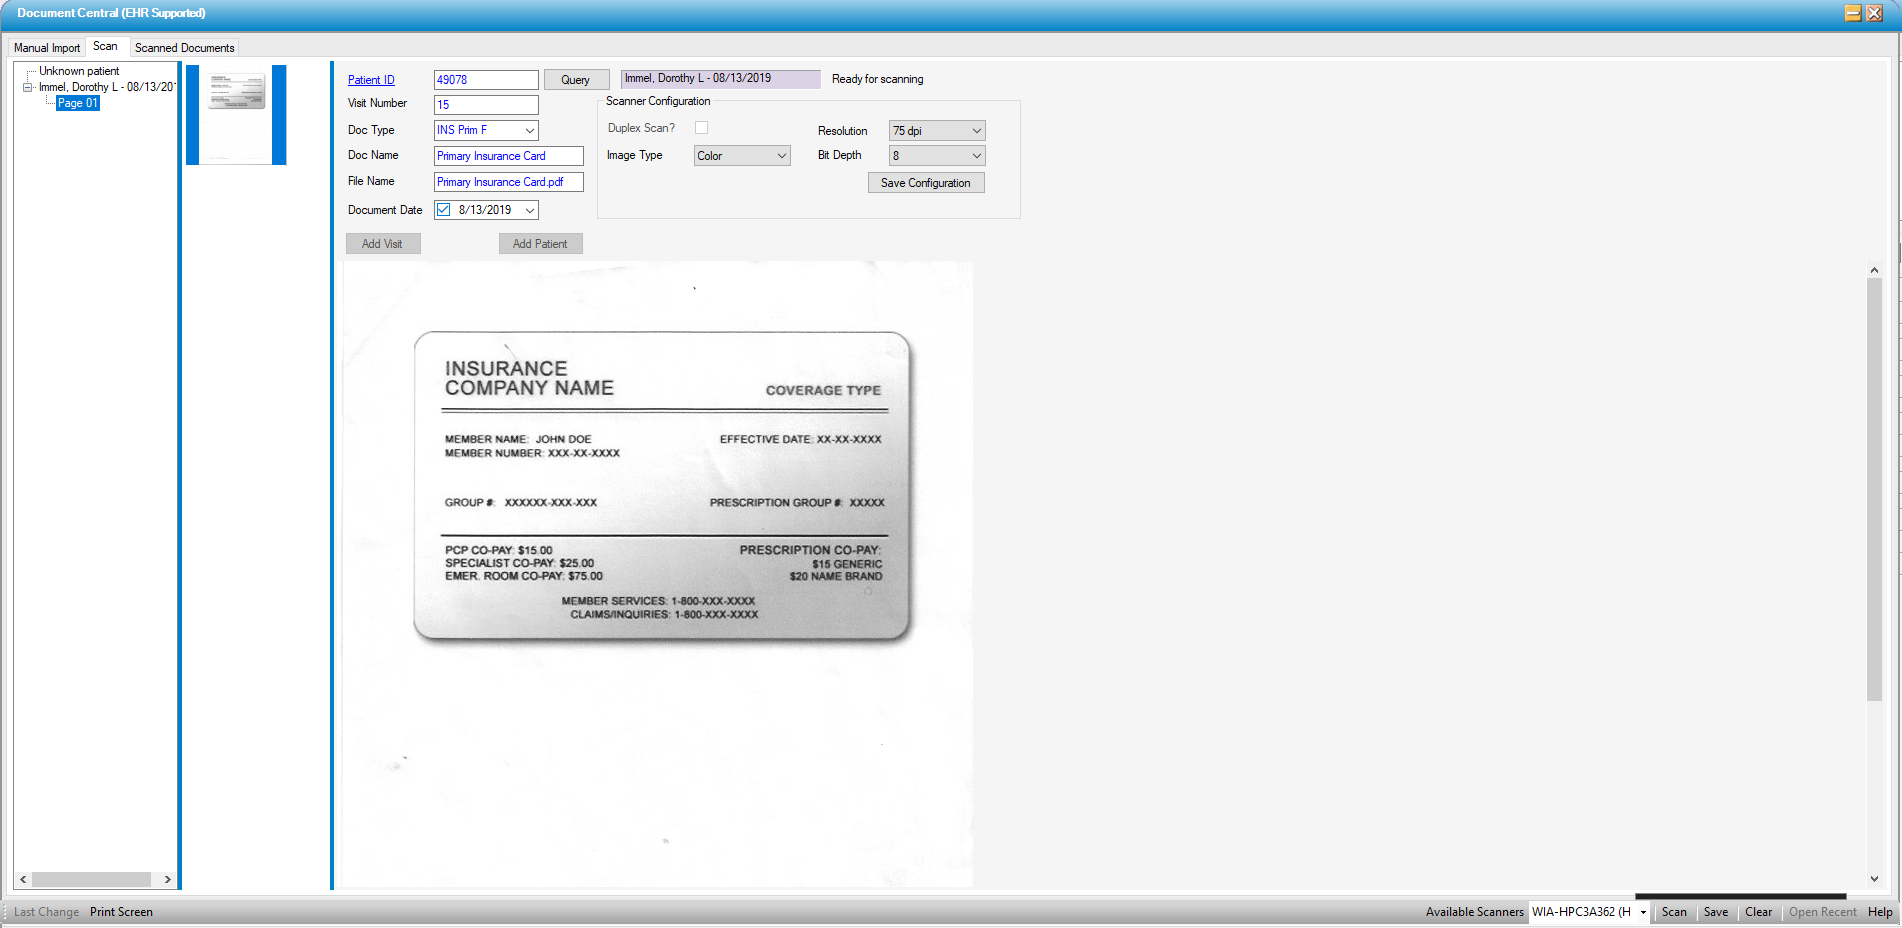
Click on Page designation below the patient name to see the scanned contents.
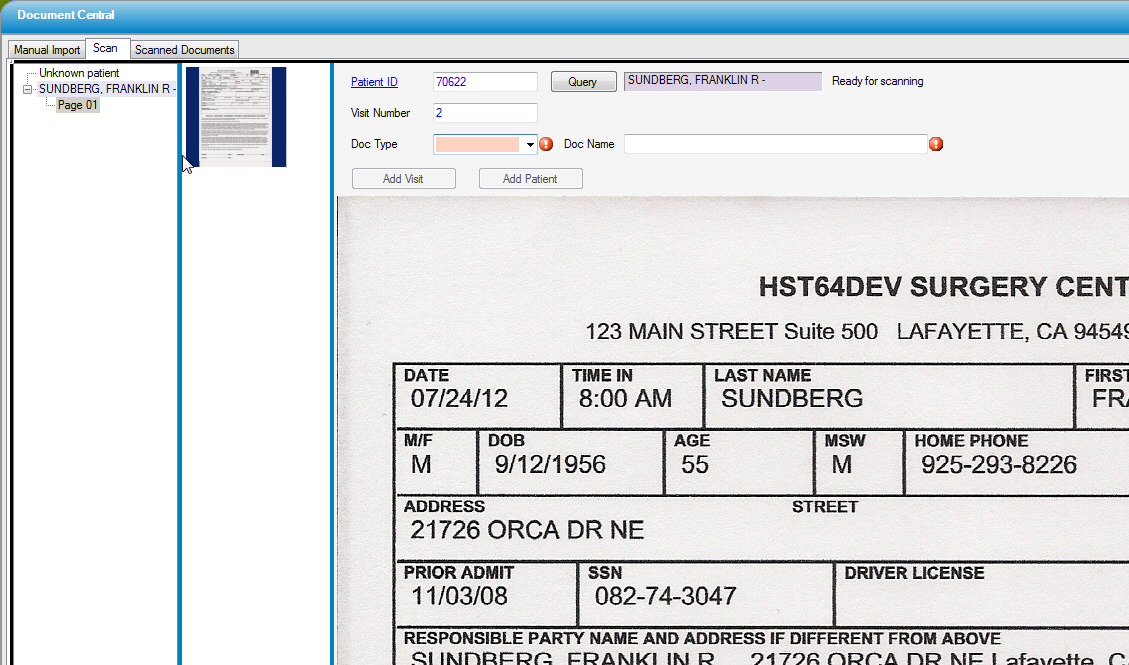
Select a desired Doc Type from the drop down.

In multi-page documents, Page 2 and page 3 will have the same Doc Type and Doc Name; the same holds true for all multi-page scanned documents.
Click Save icon when done.

The screen will be cleared out, and a message will display Saved Successfully!. Click OK.
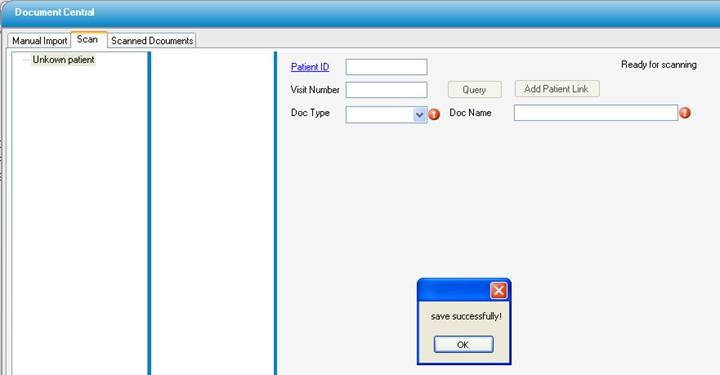
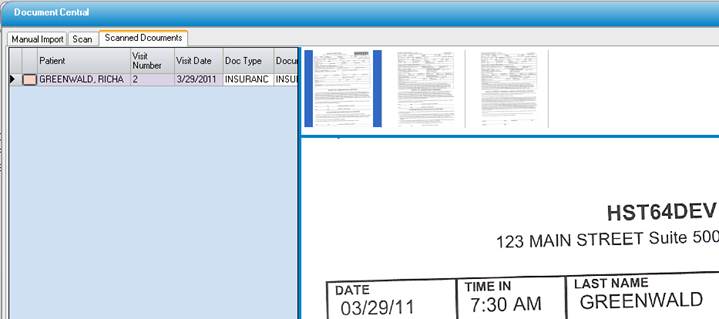
Click Scanned Document tab to viewed the saved document.
NOTE: Documents scanned without the bar-coded label will scan to Unknown Patient. These documents can be moved to the correct patient and visit by querying the account, selecting Add Visit, and then dragging the document to that visit.